Home Improvement
Thermo Modified Wood – Durability, Stability, and Natural Beauty
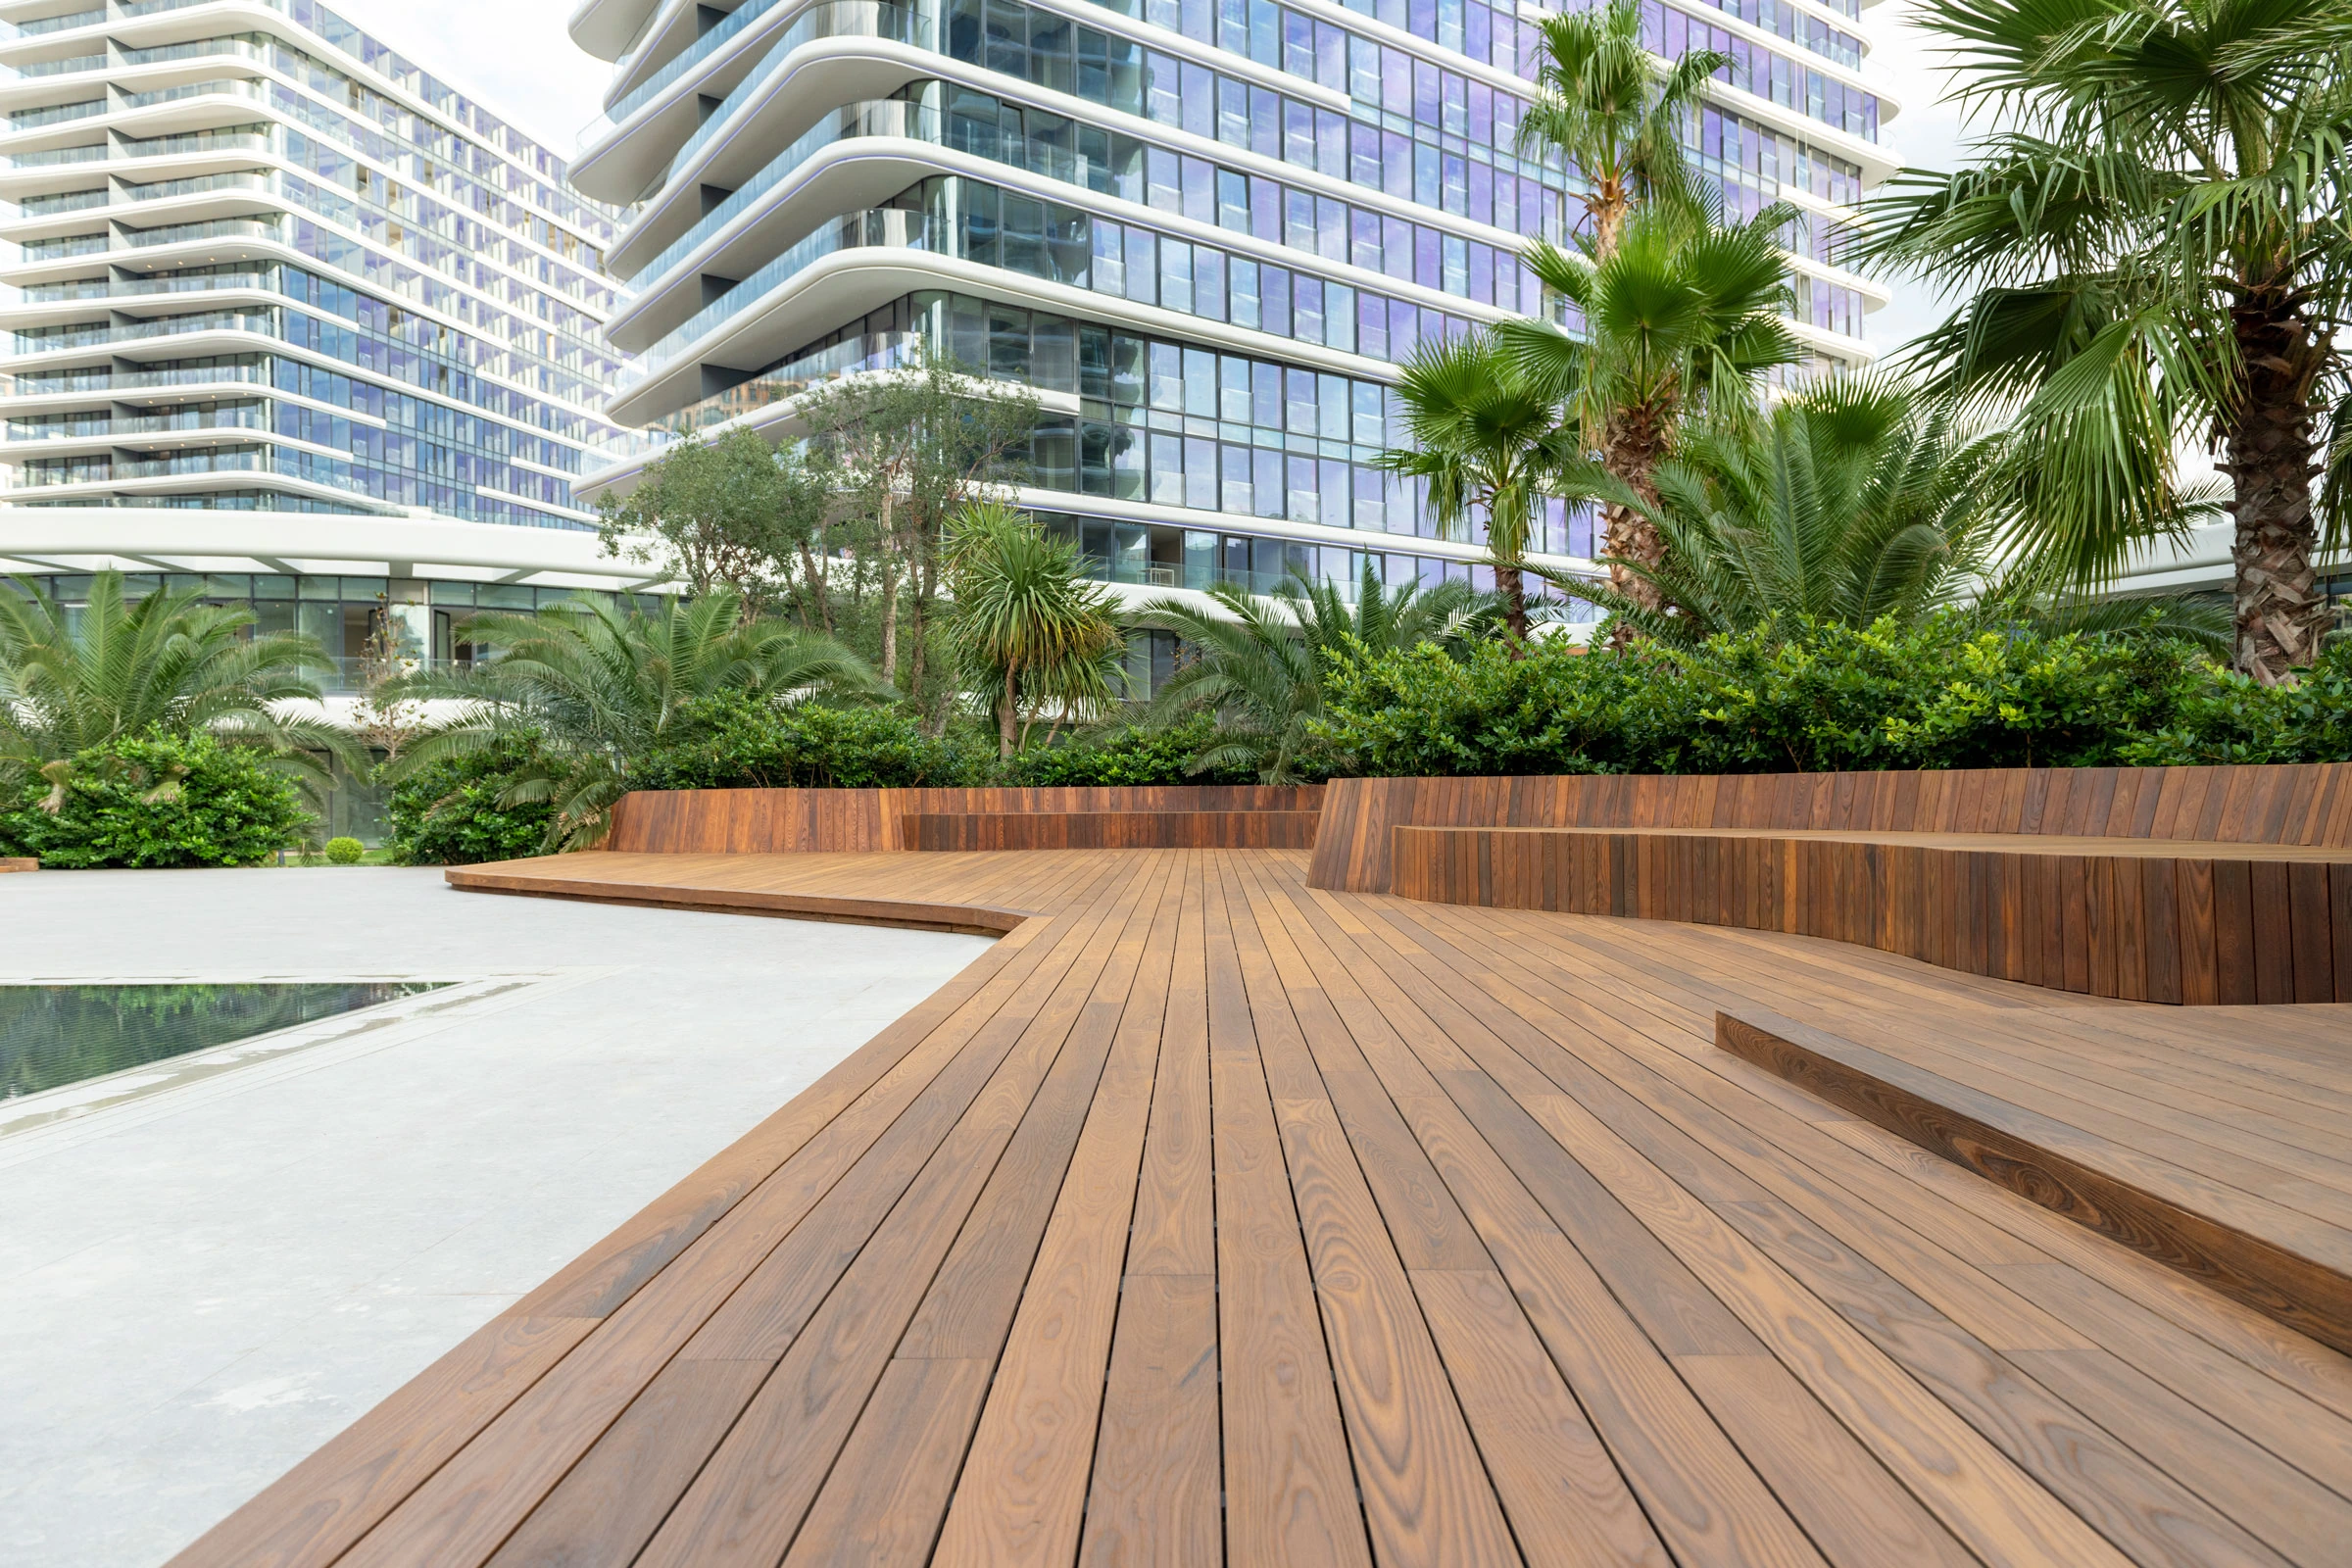
As sustainability and longevity become increasingly important in building materials, thermo modified wood has emerged as a premium choice for outdoor and indoor projects. Thanks to its environmentally friendly treatment process and improved performance, thermowood offers an excellent alternative to tropical hardwoods and chemically treated lumber. In this article, we’ll explore what thermally modified wood (need one? buy here) is, its key features, advantages, and applications.
What is Thermo Modified Wood?
Thermo modified wood, often referred to as thermowood, is natural timber that has been treated with a high-temperature process (typically between 160°C and 220°C) in a controlled, low-oxygen environment. This heat treatment alters the wood’s cellular structure, reducing its moisture content and making it more resistant to biological threats like fungi and insects.
Importantly, thermally modified wood requires no chemical additives, making it a safe and eco-friendly choice for both residential and commercial projects.
Key Features of Thermowood
Choosing thermowood offers several distinct benefits:
- Enhanced Durability
The modification process makes thermo modified wood highly resistant to decay, mold, and insects. - Improved Dimensional Stability
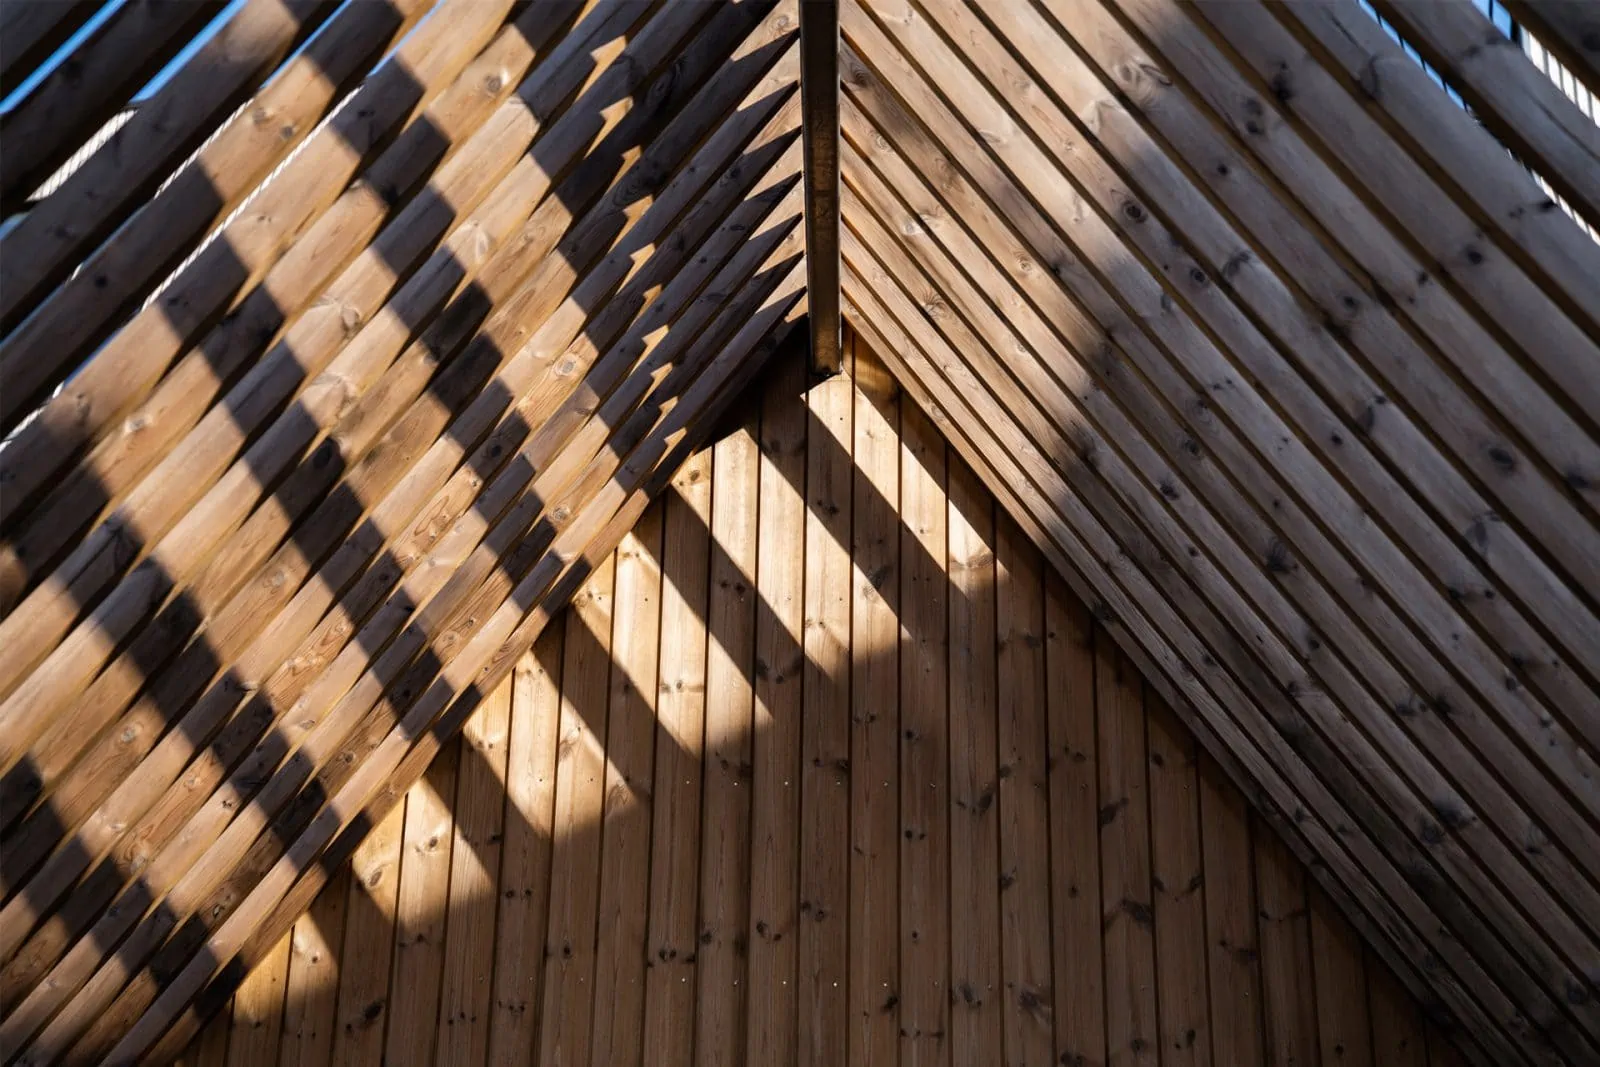
Thermally modified wood absorbs less moisture from the environment, significantly reducing swelling, shrinking, and warping. - Rich Appearance
The thermal process deepens the color of the wood, giving it a rich, warm tone that enhances its natural grain patterns. - Non-Toxic and Eco-Friendly
No chemicals are used in the modification process, making thermowood safe for both people and the environment. - Lower Maintenance
Thermo modified wood retains its strength and structure over time with minimal maintenance, although periodic oiling can help preserve its original color.
Advantages of Thermally Modified Wood
Here are the main reasons why architects, builders, and homeowners are increasingly choosing thermowood:
- Sustainability – Often sourced from fast-growing, responsibly managed forests.
- Weather Resistance – Perfect for outdoor applications like decking, siding, and cladding.
- Versatility – Suitable for both exterior and interior projects.
- Aesthetic Appeal – Offers a luxurious look without the premium cost of exotic hardwoods.
- Safety – No harmful chemicals involved, ensuring safe installation and use.
Common Applications of Thermowood
Thermo modified wood is extremely versatile and is used in a wide range of projects:
- Decking and terraces
- Exterior cladding and siding
- Garden furniture
- Saunas and spa areas
- Window frames and doors
- Interior wall panels and ceilings
Whether you are designing an outdoor deck or a modern interior space, thermally modified wood provides an elegant, durable solution.
Thermowood vs. Traditional Wood
Let’s compare thermowood with untreated timber:
| Property | Thermowood | Traditional Wood |
|---|---|---|
| Durability | High | Moderate |
| Dimensional Stability | Excellent | Low |
| Resistance to Decay | High | Low |
| Maintenance Needs | Low | High |
| Eco-Friendliness | Very High | Depends on source |
While traditional wood can be beautiful, it often requires frequent treatment and maintenance to withstand outdoor conditions. Thermo modified wood offers a natural, maintenance-reduced solution without sacrificing beauty or performance.
Things to Consider When Choosing Thermally Modified Wood
Before purchasing thermo modified wood, it’s important to keep a few points in mind:
- Surface Hardness
While thermowood becomes more durable, the process can slightly reduce its surface hardness compared to untreated hardwoods. It’s still more than strong enough for most decking and siding applications. - Color Change Over Time
Like all wood products, thermally modified wood will gradually weather to a gray patina if not treated with UV-protective oils. - Cost
Thermowood typically costs more than untreated softwood, but is often less expensive than exotic hardwoods.
How Much Does Thermowood Cost?
The price of thermo modified wood depends on the wood species, thickness, and manufacturer. On average:
- Decking boards of thermally modified wood range from $5 to $12 per linear foot.
- Siding and cladding options can vary between $6 and $15 per square foot installed.
Considering its low maintenance requirements and long service life, many see thermowood as a smart investment.
Why Choose Thermowood?
If you are looking for a beautiful, eco-friendly, and durable alternative to traditional wood materials, thermo modified wood is an outstanding choice. It offers the warmth and elegance of natural wood with enhanced resistance to the elements, insects, and decay—making it perfect for both modern and traditional designs.
Whether you need reliable materials for your deck, a sleek cladding solution for your home, or luxurious finishes for your sauna, thermally modified wood brings performance, style, and peace of mind.
The net is still wet from last weekend. The aluminum pole is leaning awkwardly against the patio wall, leaving a faint water stain on the stucco. As you glance at the slight cloudiness forming near the deep end, you already know exactly what your Saturday morning will look like. For decades, this relentless cycle of skimming, scrubbing, and chemical guessing was simply accepted as the unwritten contract of having a backyard pool. It was the price of admission for a private aquatic oasis.
Today, however, a quiet rebellion is taking place in suburban neighborhoods and coastal properties. The romance of the DIY weekend chore is fading, replaced by a growing recognition that manual upkeep is no longer sustainable for modern schedules. Homeowners are fundamentally shifting how they interact with their outdoor spaces. The transition away from manual labor is not merely about chasing convenience; it is a calculated response to the hidden resource leaks, chemical volatility, and the massive time deficit inherent in traditional pool care.
The Unforgiving Time Deficit
The most immediate driver of this behavioral shift is the realization of how much time a pool actually consumes when maintained by hand. A swimming pool is a highly volatile biological environment. Delaying a lawn mowing by three days is harmless; delaying a pool brushing by three days in mid-July often results in a full-blown algae bloom.
Skimming the surface for atmospheric pollutants, pollen, and leaves must be done almost daily to prevent debris from becoming waterlogged and sinking to the floor. Manually brushing the slick PVC or tile walls to disrupt invisible biofilm, followed by meticulously vacuuming the floor, is a strenuous physical task. It routinely consumes one to two hours of intense, repetitive labor. When aggregated over a standard six-month swimming season, a homeowner might sacrifice upwards of 50 to 60 hours purely on mechanical cleaning. In a landscape where downtime is increasingly rare, sacrificing entire weekends to property upkeep is a compromise fewer people are willing to make.
The Hidden Resource Bleed of the Backwash
Beyond the loss of time, manual maintenance harbors invisible financial leaks, primarily related to water and energy waste. When a homeowner uses a traditional manual vacuum hose hooked into the pool’s skimmer, all the extracted heavy dirt, sand, and organic debris is forced directly into the home’s primary filtration system.
As this heavy load enters the main sand or glass filter, the system pressure spikes rapidly. To relieve this pressure and restore safe water flow, the homeowner must perform a “backwash.” This procedure reverses the flow of water to flush the trapped dirt out of the filter and directly into the municipal sewer or yard. A single, thorough backwash cycle can easily expel hundreds of gallons of water. If a homeowner is manually vacuuming heavy debris and backwashing weekly, they are flushing thousands of gallons of treated, balanced, and potentially heated water down the drain every season. This necessitates refilling the pool with cold tap water, which then requires expensive reheating and a complete rebalancing of the water chemistry.
The Cost of Human Inconsistency
Even the most dedicated property owner is bound by human inconsistency. A rushed brushing job before a family event often leaves microscopic organic matter clinging to the walls, particularly at the waterline where body oils and sunscreen bake under the UV rays.
When this organic matter is left to linger, it begins to decompose. This decomposition feeds bacteria, causing the pool’s baseline chlorine demand to skyrocket overnight. To correct the resulting cloudy water, owners are forced to dump massive amounts of harsh chemical shock treatments into the system. These wild, reactive swings in chemical saturation are disastrous for the pool’s structural integrity. Constant exposure to aggressively high chlorine levels, combined with the abrasive manual scrubbing required to remove neglected algae, drastically accelerates the degradation of pool liners, fades expensive gel coats, and ruins the grout between glass tiles.
The Shift to Autonomous Infrastructure

If manual maintenance is so inherently flawed, why didn’t the industry shift earlier? The answer lies in the limitations of legacy equipment. For years, the alternatives to the manual pole were either clumsy, hose-driven suction cleaners that still clogged the main filter, or early-generation robots that constantly tangled their power cords and moved in frustratingly random, overlapping patterns.
The mass migration happening today is driven by the fact that the hardware has finally matured into reliable infrastructure. The focus has shifted from reactive cleaning to proactive, self-regulating management. By integrating a high-performance robotic pool vacuum, homeowners can instantly bypass the wasteful backwashing cycle, as these independent units trap debris within their own internal filters rather than relying on the home’s main pump.
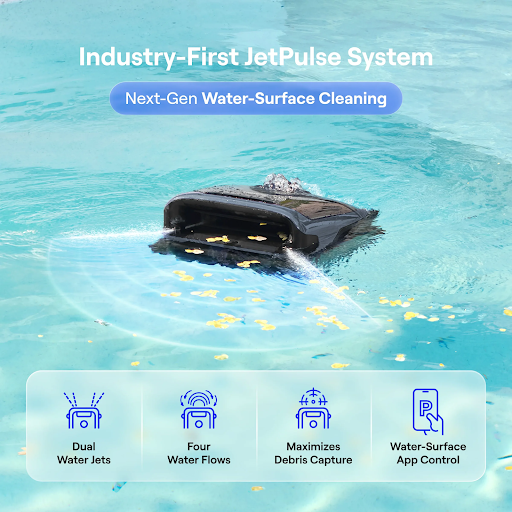
One clear example of this shift can be seen in systems like the Beatbot AquaSense X. It serves as a strong representation of how the industry is moving away from fragmented chores. Instead of simply wandering around the floor, modern units are designed to address the entire aquatic space holistically. They utilize active buoyancy systems to rise to the surface, skimming floating pollen and insects before they sink.
When moving underwater, they generate the necessary hydrodynamic traction to adhere to walls and scrub the critical waterline. Most importantly, by utilizing advanced spatial mapping instead of random bumping, these devices ensure complete, efficient coverage of the pool’s interior. Integrating a pool auto vacuum at this level reflects a broader industry movement: treating the pool not as a weekend project, but as a seamlessly managed extension of the smart home.
A Changing Neighborhood Baseline
As intelligent technology continues to integrate seamlessly into outdoor living spaces, the expectations surrounding property maintenance are naturally evolving. The shift away from the manual telescopic pole is less about chasing the latest high-tech gadget and more about rethinking how we allocate our most precious resource: our time.
By removing the guesswork from chemical balancing, eliminating the massive water waste of constant backwashing, and neutralizing the physical strain of weekend scrubbing, automated systems are quietly establishing a new baseline for outdoor living. For the modern homeowner, the ultimate luxury of a backyard pool isn’t just the pristine water itself—it’s having the freedom to simply enjoy it, long after the manual pole has been put away for good.

If you are a manufacturer dealing with flat display panels, and needing to create those for all kinds of panel technologies, whether LCD, microLED, OLED, or something else, one thing is absolutely for sure. You understand the importance of precision in that particular process. After all, even microscopic contamination can cause all kinds of defects, such as uneven layers, reduced display performance, or dead pixels. And, you absolutely don’t want that to happen.
Here’s more on flat panel displays: https://www.sciencedirect.com/topics/earth-and-planetary-sciences/flat-panel-display
Okay, so as to avoid those kinds of challenges that could ruin the entire manufacturing process, you absolutely need to, well, have a cleanroom designed for yourself. After all, cleanrooms play a crucial role in flat display manufacturing, and there is certainly no way that you can go without one. I am sure you understand that already, so there is no need for me to dwell on it and try to explain why.
The thing is, though, while you may understand the importance of a cleanroom for flat display manufacturing, you may not be entirely sure about how to actually have this space perfectly designed for yourself. And, well, that is a rather important question, because the quality of the cleanroom is sure to affect the overall quality of the manufacturing process. Since you clearly want the best for your production process, you will have to carefully design this space.
How can you do that, though? Well, that is what we are here to find out. And, don’t worry, we won’t get too technical about it, since you may not really be interested in understanding everything that a cleanroom requires in order to meet the necessary standards and be suitable for your particular processes. You just want to know how to get it, and that requires you to do only one thing correctly. Here is more on flat panel displays in general, as that could help you understand the importance of precision and cleanrooms for their production.
So, what is that one thing that you have to do correctly when it comes to designing these spaces for flat panel display manufacturing? Well, to cut right to the chase, the idea is for you to find and choose the right company that will design it for you. That is the main task, and that is what we are going to focus on right now, because you have to know how to choose and how to partner up with the right firm, in order to get what’s best for yourself. Without any further ado, thus, let us get started.

Search Online
Okay, you can talk to the people you know and get their recommendations about these professionals. But, the truth is that those people certainly won’t be familiar with all the companies operating on this market, which means that you will have to do some searching of your own as well, and that consists of, naturally, browsing the Web. In the simplest words possible, the idea here is for you to search for these cleanroom companies online, and thus make a list of potential ones, after which you will start checking out their websites in more details, and generally try to find as much info as you can about them before choosing.
Check Their Previous Projects
Anyway, once you have made that list of potential companies, your next task will be to research them in details, as mentioned. And, one of the first things to do is check out their previous projects, taking a look at the work they have done, so as to determine if it is suitable for your particular needs. It would be best to check out some of their flat display cleanroom projects specifically, so as to get a better idea about whether they can design those successfully, and whether they can, thus, provide you precisely with what you need.
And Their General Experience
Of course, you should also check their general experience. The idea is for you to choose a flat display manufacturing cleanroom design company that has been around for a while, and that has enough experience in this particular field. Most likely, you will get to find the info you need about that on the official sites, but you can also always inquire about it when you get in touch.
Inspect Reputation
Inspecting reputation is, without a doubt, a highly important task here. And, you can do it through reading reviews written by previous clients. The goal is to choose a highly reputable and reliable company to do the work for you.
Get in Touch
Finally, you should get in touch with the potential candidates. When you do, remember to ask any questions you may have, including those about the timeline, and the costs of designing the cleanroom for you. Then, compare all the info you’ve found and all the answers, and make your final choice.
In a place as distinctive as Bluffton, where historic charm meets coastal resilience, your home is more than just a building—it’s a part of the local story. Homeowners here understand that protecting this legacy requires more than a standard solution, especially when it comes to the roof over their heads. This is why a growing number of residents are turning to a roofing company in Bluffton, SC, for their needs, choosing community expertise over the promises of national chains.
The decision goes beyond simple hometown pride. Bluffton’s unique climate, with its humid summers and salty sea breezes, combined with specific architectural standards, demands a specialized approach. Local roofing contractors bring an intimate understanding of these challenges, offering solutions that are not just effective but also respectful of the Lowcountry aesthetic. For Bluffton homeowners, selecting a local roofer means investing in peace of mind, knowing their most valuable asset is protected by experts who live and work in the same community.
Bluffton’s Unique Roofing Landscape
Bluffton’s position along the South Carolina coast creates a set of environmental factors that generic roofing solutions often fail to address. The combination of high humidity, salty air, and the potential for severe storms requires a deep understanding of materials and installation techniques that can withstand these conditions.
Salt spray from the Atlantic can speed up the corrosion of metal components, while the persistent humidity creates a breeding ground for mold and algae if a roof isn’t properly ventilated. A roofing company in Bluffton, SC, has firsthand experience with these issues. They know which materials hold up best against the coastal elements and how to install them to prevent moisture damage.
Furthermore, Bluffton’s rich architectural heritage means many homes feature designs that require specialized care. From classic Southern-style homes to more modern coastal cottages, local roofers have honed their skills over years of working with these unique structures. They have established relationships with suppliers who provide materials that meet both the functional needs and the aesthetic standards of the Lowcountry.
The Advantage of Local: Responsiveness and Reliability
When a storm rolls through Bluffton, the ability to get a quick response for a roof inspection or repair is crucial. Local roofing companies are already part of the community, allowing them to mobilize their crews and equipment rapidly. They are familiar with the area and can often provide emergency services within hours, not days.
In contrast, large national companies may face logistical hurdles, especially during widespread weather events when their resources are stretched thin across multiple regions. A local company maintains its focus on the Bluffton area, ensuring they have the necessary materials and personnel ready to go when its neighbors need them most. This promptness can be the difference between a small patch-up and extensive interior water damage, saving homeowners significant stress and expense.
Expertise in Local Building Codes and Permits
Navigating Bluffton’s building regulations is another area where local roofers excel. The town has specific codes related to wind load requirements, flood zone considerations, and architectural standards designed to preserve its unique character.
A reputable roofing company in Bluffton, SC, deals with these regulations daily. They have built working relationships with local building inspectors and are well-versed in the permit application process. This insider knowledge helps streamline projects, avoiding the costly delays and frustrations that can arise when working with a contractor unfamiliar with local rules. Homeowners can rest easy knowing their roofing project will be compliant from the start, without the risk of failed inspections or the need for expensive rework.
Material Selection Suited for the Coastal Climate
Choosing the right roofing materials for Bluffton’s climate is essential for a long-lasting and effective roof. What works in a dry, inland climate may not perform well in a humid, coastal environment. Local roofers have the benefit of years of on-the-ground experience, having seen which materials stand up to the local weather.
They can recommend shingles that resist algae growth, metal roofing with coatings that protect against salt air corrosion, and ventilation systems that combat moisture buildup. This tailored advice is based on proven results within the community, offering homeowners a level of assurance that a one-size-fits-all approach from a national chain simply cannot match. Investing in the right materials from the beginning leads to a more durable roof and fewer problems down the line.
Investing in the Community
When you hire a local roofing company in Bluffton, SC, you are doing more than just getting a new roof; you are investing in your own community. These companies are often small businesses owned by your neighbors. They employ residents, purchase materials from regional suppliers, and contribute to the local economy.
This creates a cycle of accountability and trust. A local roofer’s reputation is built on word-of-mouth and the satisfaction of their clients. They are committed to delivering high-quality work because their success is directly tied to the community they serve. This long-term perspective means they view each project as a relationship, offering ongoing support and reliable service for years to come.
The Clear Choice for Your Bluffton Home
Roofing company Bluffton, SC services give homeowners the advantage of local expertise, quick response times, and solutions tailored to the region’s unique climate challenges. For Bluffton homeowners, the choice is becoming increasingly clear. The practical benefits of hiring a local roofing company—from their climate-specific knowledge and familiarity with local regulations to their commitment to community—offer undeniable value. Combined with the added benefit of supporting the local economy and fostering long-term relationships, the case for choosing local has never been stronger.
Your roof is a critical investment in the safety and longevity of your home. By choosing a partner who understands the unique challenges and beauty of Bluffton, you are making a smart decision that protects your property and strengthens your community. When it’s time for your next roofing project, consider the many advantages that only a local roofing company in Bluffton, SC can offer.

Why Modern Homeowners are Moving Away from Manual Pool Maintenance

6 Best Movies for Travel Lovers