Guides
Memphis to Nashville: Your Road Trip Guide
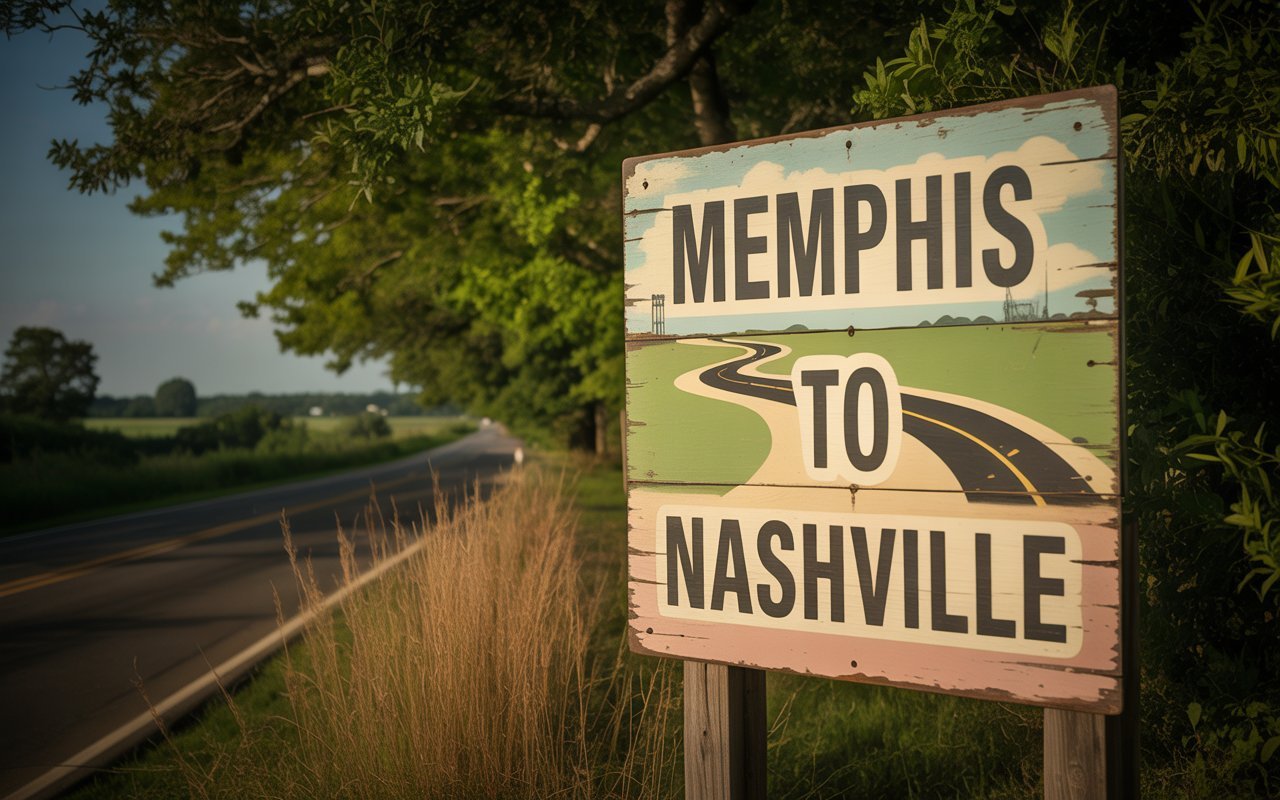
Tennessee, the heart of the American South, offers some of the most iconic music history, mouthwatering food, and vibrant culture in the U.S. If you’re considering a road trip, the journey from Memphis to Nashville is a must-do, whether you’re a backpacker, luxury traveler, family vacationer, digital nomad, or adventure seeker. This guide will help you make the most of this 200-mile journey, with insider tips, must-visit spots, and everything you need to know to plan an unforgettable road trip.
Why Travel from Memphis to Nashville?
Before we dive into the logistics, let’s talk about why this road trip should be on your bucket list. The route between Memphis and Nashville offers a delightful mix of southern charm, iconic music venues, and diverse landscapes. Whether you’re drawn to Memphis for its deep blues heritage or Nashville for its country music scene, the journey offers so much more than just music. From picturesque small towns and historic landmarks to fantastic food and culture, this road trip promises memories you’ll cherish forever.
Best Time to Travel from Memphis to Nashville
The best time to take the road trip from Memphis to Nashville largely depends on what kind of experience you’re looking for:
Spring (March to May):
Spring offers mild temperatures, blooming flowers, and outdoor events like music festivals and local fairs. This is an excellent time for backpackers, family vacationers, and adventure seekers.
Summer (June to August):
If you’re looking to dive into Tennessee’s summer vibe with festivals, live music, and food trucks, summer is your time. However, be prepared for warmer weather, which can get pretty hot, especially for those on long drives or outdoor adventures.
Fall (September to November):
Fall is perfect for stunning foliage and cooler weather. It’s an ideal time for digital nomads and luxury travelers looking to enjoy comfortable temperatures without the crowds.
Winter (December to February):
Winter is quieter and less crowded, making it a peaceful time to experience both cities. Expect fewer tourists in Nashville and Memphis, which can be perfect for those who prefer a more laid-back atmosphere.
Route Overview: Memphis to Nashville
The road trip between Memphis and Nashville covers roughly 200 miles and takes around 3 to 3.5 hours of driving, depending on traffic. While the quickest route is via I-40 E, there are several worthwhile stops along the way that make it a memorable journey.
Route Highlights:
Distance: 200 miles
Estimated Drive Time: 3-3.5 hours
Main Highway: Interstate 40 East (I-40 E)
Scenic Stops on the Way
Jackson, Tennessee (1.5 hours from Memphis)
A charming town midway between Memphis and Nashville, Jackson is home to attractions like the International Rock-A-Billy Hall of Fame and Casey Jones Village, offering an ideal spot for a rest stop.The Loretta Lynn Ranch (2 hours from Memphis)
Country music fans will love a detour to Loretta Lynn’s Ranch in Hurricane Mills, the home of the famous country singer. You can tour her mansion, check out the museum, and even camp on-site.Hurricane Mills
A short detour off I-40, Hurricane Mills is a scenic stop with the opportunity to explore the countryside and visit Loretta Lynn’s Ranch, a must-see for country music enthusiasts.Dickson, Tennessee
A peaceful town known for Primm Springs and the beautiful Cedar Hill Park, Dickson is a perfect break for a walk or picnic. There are local shops and cafes to enjoy.
Top Things to Do in Memphis
Before you hit the road, make sure you explore Memphis, a city rich in music history and southern culture.
1. Graceland
Elvis Presley’s legendary home is a pilgrimage for music lovers worldwide. While in Memphis, a visit to Graceland is non-negotiable. Take a guided tour to see the rooms where Elvis lived, his iconic car collection, and his final resting place.
2. Beale Street
The heart of Memphis’ nightlife and music scene. Beale Street is a bustling stretch of clubs, bars, and live music venues. It’s one of the most iconic streets in America, especially for blues music lovers.
3. National Civil Rights Museum
The National Civil Rights Museum is a must-see, offering an insightful and emotional look into the history of the American Civil Rights Movement. Located at the Lorraine Motel (where Dr. Martin Luther King Jr. was assassinated), the museum is an essential part of Memphis’ cultural identity.
4. Sun Studio
Known as the birthplace of rock ‘n’ roll, Sun Studio is where legendary artists like Elvis Presley, Johnny Cash, and Jerry Lee Lewis recorded some of their most famous songs.
Top Things to Do in Nashville
Once you arrive in Nashville, get ready to experience the beating heart of country music and a city that’s full of southern hospitality.
1. The Grand Ole Opry
A trip to Nashville wouldn’t be complete without seeing a show at the Grand Ole Opry, one of the most iconic music venues in the world. Book tickets in advance for the best experience!
2. Broadway Street
Known for its honky-tonk bars, neon lights, and live country music, Broadway Street is Nashville’s entertainment hub. Whether you’re in the mood for a casual drink or some high-energy country jams, Broadway has something for everyone.
3. Ryman Auditorium
Once known as the Mother Church of Country Music, the Ryman Auditorium is a historic venue where famous artists have performed for over a century. Please take a tour to learn more about its rich history.
4. The Country Music Hall of Fame
Dive deeper into the roots of country music at the Country Music Hall of Fame. The museum showcases memorabilia from legendary artists, offering insight into the evolution of the genre.
Accommodation Options: Where to Stay
Whether you’re a budget traveler or seeking a luxurious stay, both Memphis and Nashville offer a variety of accommodation options.
In Memphis:
Budget: The Guest House at Graceland
A budget-friendly yet unique option for Elvis fans.Mid-Range: Hotel Napoleon
A stylish boutique hotel offering comfort and a central location.Luxury: The Peabody Memphis
A historic hotel with luxurious amenities and a rooftop bar.
In Nashville:
Budget: The Hermitage Hotel
An excellent option for a budget stay that still offers comfort and proximity to downtown.Mid-Range: Kimpton Aertson Hotel
A trendy hotel with a rooftop pool and bar.Luxury: The Noelle
A boutique hotel offering a mix of luxury and southern charm.
Transportation Tips
While both cities have public transportation options, renting a car is the most convenient way to travel between Memphis and Nashville. Alternatively, if you’re traveling light, bus services like Greyhound and Megabus provide affordable options between the two cities.
For digital nomads, both cities offer excellent Wi-Fi, co-working spaces like WeWork (Nashville) and Memphis Co-Working (Memphis), allowing you to work remotely while enjoying your journey.
Final Thoughts
Whether you’re in it for the music, the food, the history, or the adventure, the road trip from Memphis to Nashville is a journey that has something for everyone. From the blues-infused streets of Memphis to the honky-tonk vibe of Nashville, the trip is an unforgettable adventure through the soul of the American South.
So, pack your bags, hit the road, and let Tennessee’s rich culture and history inspire you on this epic road trip.
Practical Tips:
Fuel Up: Gas stations are plentiful along I-40, but be sure to fill up when you’re near smaller towns.
Weather Prep: Check the forecast, as Tennessee can experience sudden weather changes, especially in spring and fall.
Roadside Attractions: Keep an eye out for quirky roadside attractions and local eateries for authentic Southern experiences.
Safe travels!
Budget Travel Tips for Exploring Expensive Cities in the USA! Traveling to expensive cities in the USA might seem like a daunting task, especially if you’re on a budget. But fear not! With a little creativity and some strategic planning, you can explore iconic destinations without emptying your wallet. From bustling New York City to sunny San Francisco, there are plenty of ways to have an unforgettable experience while keeping costs down. Whether you’re dreaming of art-filled galleries or delectable food from street vendors, these budget travel tips will help you navigate expensive cities with ease. Get ready to discover how to make the most out of your adventures without breaking the bank!
Research and planning tips for saving money on accommodations
Finding affordable accommodations in pricey cities can feel daunting. However, a little research goes a long way.
Start by comparing prices on different booking websites. Often, one platform will have better deals than another. Don’t forget to check for any available discounts or promotions.
Consider staying slightly outside the city center. Neighborhoods that are just a bit further out usually offer lower rates while still giving you quick access to public transportation.
Flexible travel dates can also help you score deals. If possible, avoid traveling during peak seasons or major events when prices skyrocket.
Look into alternative lodging options like hostels or vacation rentals. These can provide unique experiences at much lower costs than traditional hotels.
Join loyalty programs offered by hotel chains and booking sites for additional savings on future stays.
Transportation hacks for getting around on a budget
Getting around expensive cities doesn’t have to drain your wallet. Start by checking public transportation options like buses and subways. Many cities offer day passes that allow unlimited rides for one low price.
Rideshare apps can also be a budget-friendly choice if you travel in groups. Splitting the fare makes it more economical, especially late at night when public transport may not be as frequent.
Consider biking or walking whenever possible. Many urban areas are bike-friendly and feature extensive paths. It’s a great way to explore hidden gems while saving money.
If you’re feeling adventurous, look into car-sharing services or even renting scooters. These options offer flexibility without the hassle of parking fees associated with traditional rentals.
Don’t forget about free shuttle services that some hotels provide to key attractions. Utilizing these can save both time and money during your travels.
Affordable food options and where to find them
When exploring expensive cities, finding affordable food options can make a big difference. Local markets are often gold mines for tasty and budget-friendly treats. Look for farmer’s markets or street vendors that showcase regional specialties.
Food trucks also offer delicious meals at lower prices than sit-down restaurants. They’re perfect for grabbing a quick bite while you roam the streets. Apps like Yelp or TripAdvisor can help pinpoint popular spots favored by locals.
Consider dining during off-peak hours to snag lunch specials or happy hour deals. Many upscale eateries offer discounted menus early in the evening.
Don’t overlook neighborhood delis and cafes; they usually have hearty portions without hefty price tags. Exploring food scenes through local recommendations will lead you to hidden gems that won’t break your budget.
Free or low-cost activities and attractions to explore
Many expensive cities offer hidden gems that won’t cost you a dime. Parks, gardens, and waterfronts provide perfect spots to unwind. Think of places like Central Park in New York or Millennium Park in Chicago.
Museums often have free admission days or discounted rates at specific times. Research ahead for local art galleries or cultural institutions with no entry fees on certain days.
Walking tours can be both educational and budget-friendly. Many cities have guided walking tours based on tips, allowing you to explore while supporting local guides.
Festivals are another great way to experience the culture without spending much. Check local calendars for free events where you can enjoy music, food, and art.
In some areas, street performances bring vibrant energy to public spaces. Grab a seat on the sidewalk and enjoy live entertainment from talented artists at no charge!
Insider tips from locals on how to save money in expensive cities
One of the best ways to save money in pricey cities is to tap into local knowledge. Residents often know hidden gems that visitors overlook. These spots typically offer better prices and unique experiences.
Ask locals for their favorite cheap eats. You might find a taco truck or diner serving delicious meals at half the cost of tourist traps. Also, check out neighborhood markets; they often have fresh produce and affordable snacks.
Public transport can be a lifesaver too. Many locals rely on buses or subways instead of rideshares, which can add up quickly. Look for day passes that allow unlimited travel within certain hours.
Don’t forget about free community events! Many cities host art walks, concerts in parks, or street fairs that are enjoyable without costing a dime. Embrace spontaneity—sometimes the best adventures come from going off the beaten path with tips from those who call it home.
Conclusion: Enjoying the best of expensive cities without breaking the bank
Exploring expensive cities in the USA doesn’t have to mean emptying your wallet. With some smart planning and a few insider tips, you can experience all that these vibrant destinations have to offer without overspending.
Focus on thorough research ahead of your trip. This way, you’ll uncover budget-friendly accommodations and transportation options that won’t compromise your comfort. Use local transit systems or consider walking—many major attractions are within easy reach.
When it comes to food, seek out hidden gems where locals dine rather than tourist traps. Street vendors or popular food markets often provide delicious meals at a fraction of restaurant prices.
Make the most of free activities available in many urban areas. Parks, museums with discounted entry on certain days, and community events can fill your itinerary with enjoyable experiences at little or no cost.
Don’t shy away from asking locals for their favorite budgeting hacks. They may lead you to surprising spots that aren’t found in guidebooks but offer great value.
By implementing these budget travel tips for exploring expensive cities in the USA, you’re setting yourself up for an enriching adventure filled with memories—not regrets about spending too much money along the way. Embrace every moment while keeping a close eye on your budget!
Understanding the distance between blocks in a mile is essential for various practical reasons. Whether you’re planning a walk, a run, or trying to measure the distance between two locations in your city, knowing how many blocks make up a mile can be extremely useful. In this guide, we will answer this common question, explain the factors that influence block sizes, and provide tips on how to make use of this information in different situations.
What is a Block?
Before diving into how many blocks are in a mile, it’s important to define what a “block” is. In urban planning and geography, a block typically refers to the area between two streets, usually containing several buildings, and is often considered the basic unit of a city. While block sizes can vary from one city to another, there are some general guidelines we can follow to make an estimate.
The Standard Block Length
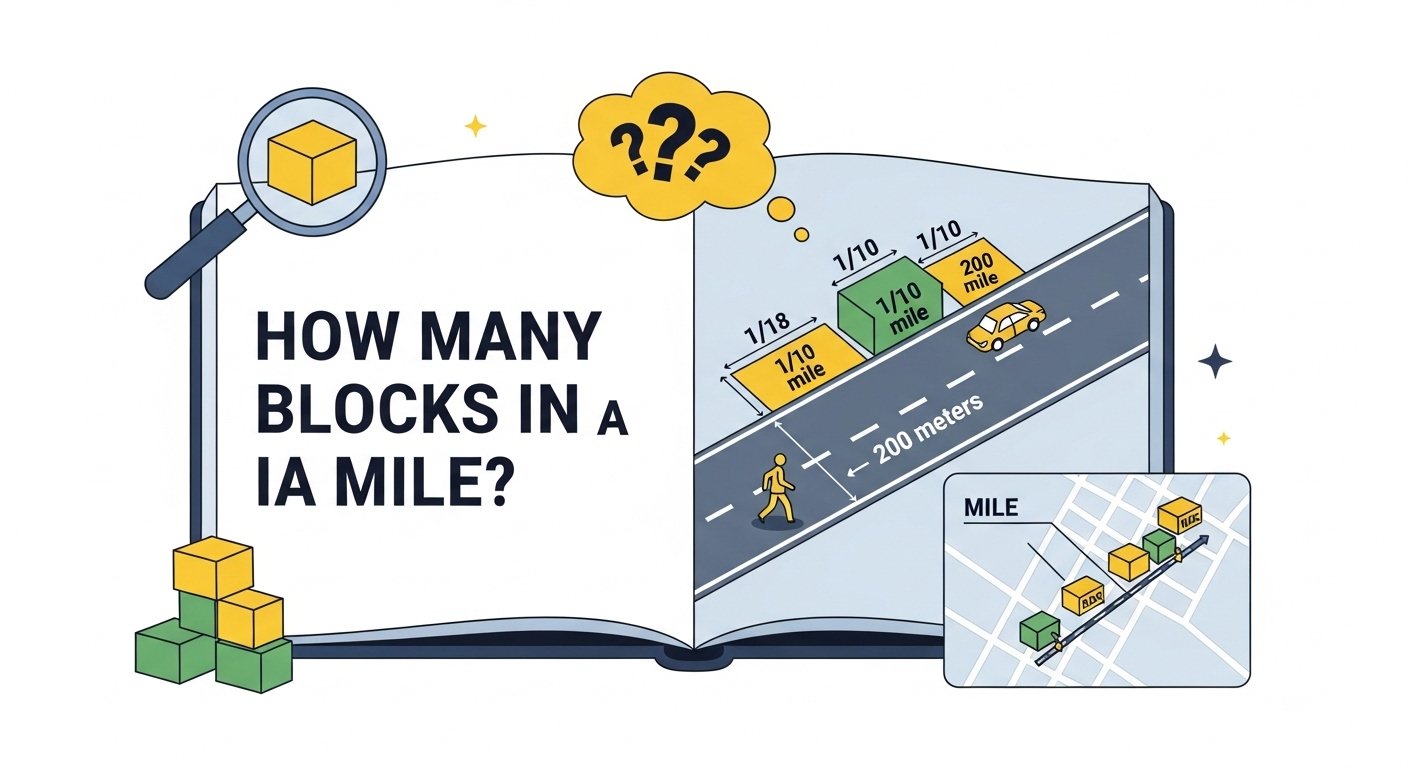
In many American cities, a block is typically around 1/10th of a mile, or approximately 528 feet (160 meters). This is based on the standard street grid layout found in cities like New York City. However, the length of a block can vary depending on the city, its layout, and whether the area is residential or commercial.
For example:
In New York City, blocks tend to be smaller, averaging 1/10th of a mile.
In Chicago, blocks are often longer, measuring around 1/8th of a mile.
In suburban areas, blocks may be larger, often reaching a quarter of a mile.
This variance is why the number of blocks in a mile can fluctuate depending on the location.
How Many Blocks Are in a Mile?
The number of blocks in a mile depends on the length of each block. Let’s break this down:
In New York City: A standard city block is approximately 1/10th of a mile, so you would need 10 blocks to make up a mile.
In Chicago or Other Cities with Larger Blocks: If the average block length is about 1/8th of a mile, then there would be 8 blocks in a mile.
In Suburban Areas: If blocks are approximately 1/4th of a mile long, you would need 4 blocks to make up one mile.
It’s important to remember that these are averages, and there can be exceptions based on the local urban planning and street layouts. However, these estimates will help guide you in understanding how many blocks you need to walk or drive to cover a mile.
Table of Average Block Lengths and Block Count per Mile
| City Type | Average Block Length | Blocks in a Mile |
|---|---|---|
| New York City | 1/10th of a mile | 10 blocks |
| Chicago | 1/8th of a mile | 8 blocks |
| Suburban Areas | 1/4th of a mile | 4 blocks |
| Rural Areas | Varies significantly | Varies |
Why Does Block Size Vary?
Several factors influence the size of blocks, such as the following:
1. City Layout and Design
Cities that were planned with a street grid system, like New York City, typically have smaller blocks. Other cities, particularly older ones, may have irregular street patterns and longer blocks.
2. Density of the Area
In densely populated cities, smaller blocks allow for more efficient use of space and better walkability. On the other hand, suburban areas tend to have larger blocks due to the lower population density and more space for homes.
3. Geographic Factors
Geography can also influence the size of blocks. Cities built on hilly or uneven terrain may have to adapt their block sizes to the landscape, which can result in varying block lengths.
4. Historical Factors
Older cities, especially those developed before modern urban planning techniques, often have non-standard block sizes. These cities may have developed organically without the strict grid system found in many modern cities.
How Can This Information Be Useful?
Knowing how many blocks are in a mile can be extremely useful for various everyday activities. Here are some examples:
1. Walking and Running
If you’re walking or running and want to cover a specific distance, knowing the number of blocks in a mile can help you gauge how far you’ve gone. For instance, if you’re running in New York City and want to run 3 miles, you’ll know to run 30 blocks.
2. Urban Navigation
If you’re exploring a new city and need to walk from one place to another, understanding the number of blocks in a mile can give you a better sense of distance. For example, knowing that 10 blocks equal a mile can help you estimate how long it will take to get to your destination.
3. Real Estate
Real estate agents and buyers can use the concept of blocks in a mile to estimate the proximity of properties to landmarks, schools, or commercial areas. It’s a quick way to communicate distance, especially in cities with a block-based street system.
4. Cycling and Biking
Cyclists often use block measurements to calculate how far they need to go on their rides. Knowing how many blocks equal a mile can help them map out their routes more effectively.
Common Misconceptions About Blocks and Miles
1. All Blocks Are the Same Size
As we’ve discussed, block sizes can vary significantly depending on the city and even within different neighborhoods of the same city. It’s important to avoid assuming all blocks are the same size.
2. The Mile is Always 5280 Feet
While it’s true that a mile equals 5280 feet, the conversion to blocks depends on the length of each block. In some cities, a block may be much shorter or longer than 528 feet, so the number of blocks in a mile will vary.
3. Suburban Blocks are Always Larger
While suburban blocks are often larger than those in cities, there are exceptions. Some suburban areas have smaller blocks, and urban areas can sometimes have larger blocks, depending on the specific urban planning strategy.
How to Measure Blocks in Your City
If you’re unsure about how long a block is in your area, there are a few ways to measure it:
Use a Map or GPS
Maps and GPS services like Google Maps can help you measure the distance between two points, and you can count the blocks along the way.Ask a Local
Locals often have a good sense of the city’s grid and can tell you how many blocks are in a mile.Measure it Yourself
If you want an accurate measurement, you can walk or drive from one point to another, counting the blocks along the way. You can use a pedometer or smartphone app to track your steps and get a precise measurement.
Conclusion: How Many Blocks in a Mile?
The number of blocks in a mile varies depending on the city, the design of the streets, and the area’s density. In urban areas like New York City, you can expect 10 blocks to make up a mile. In suburban areas, you might only find 4 blocks in a mile. The key takeaway is that block sizes can vary, so it’s important to adapt your understanding based on the location you’re in.
Now that you know how to measure and estimate blocks in a mile, use this knowledge to improve your navigation, walking, and real estate experience in any city you visit.
If you found this article helpful, don’t hesitate to share it with others or leave a comment below to let us know how you use block measurements in your daily life!
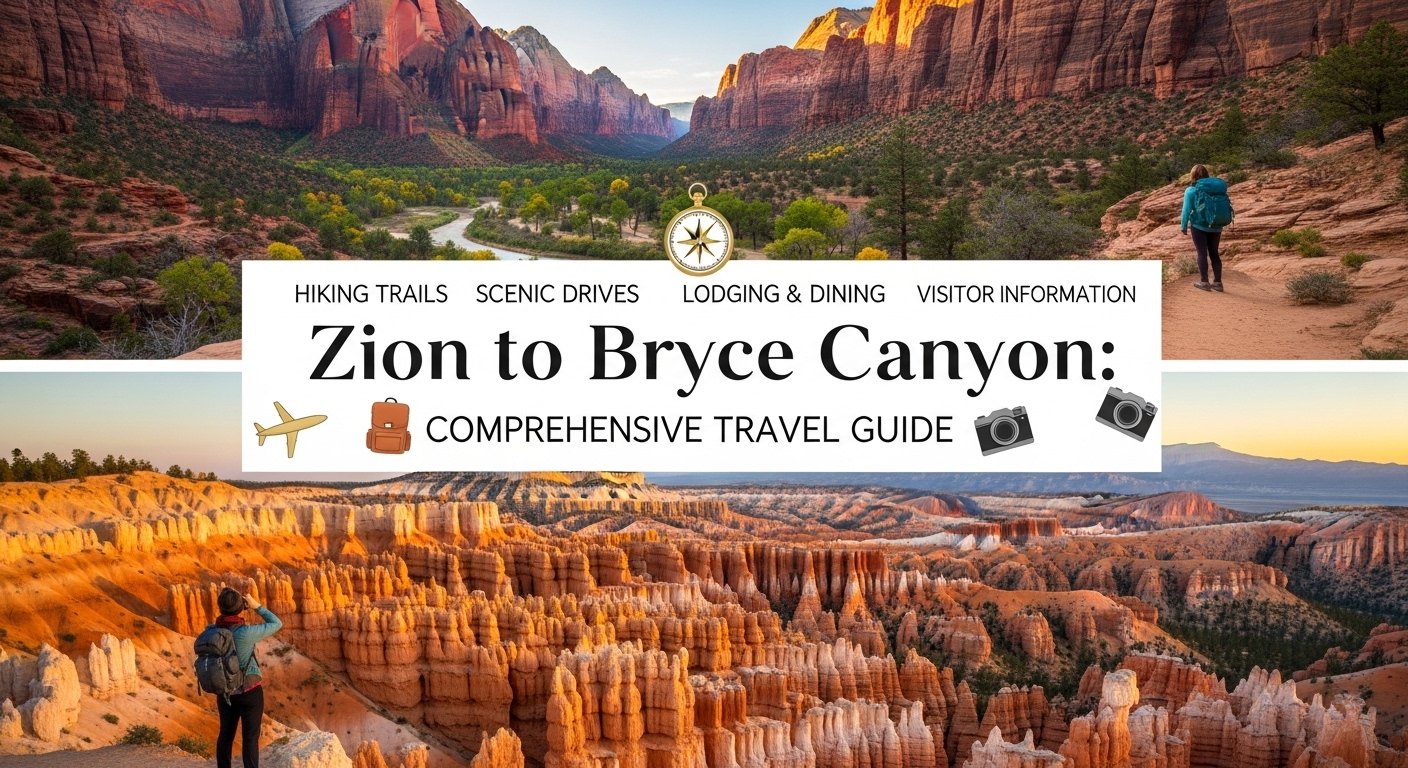
From towering red sandstone cliffs to lush canyons and surreal rock formations, the journey from Zion National Park to Bryce Canyon National Park is an unforgettable adventure. This captivating route offers a contrast of landscapes that attract backpackers, luxury travelers, family vacationers, digital nomads, and adventure seekers alike. As one of the most iconic scenic drives in the United States, traveling from Zion to Bryce Canyon allows you to experience some of the best natural wonders in the American Southwest. Whether you’re seeking hiking trails, breathtaking views, or a relaxing retreat, this guide will help you navigate the best spots, hidden gems, and essential travel tips for your journey.
Best Time to Visit: Seasonal Breakdown
The best time to visit the Zion to Bryce Canyon route depends largely on the type of experience you’re seeking:
Spring (March to May): A fantastic time for both Zion and Bryce Canyon, with mild temperatures perfect for hiking and sightseeing. The wildflowers bloom in Zion, and Bryce Canyon offers cooler weather than the summer months.
Summer (June to August): While Zion experiences warm temperatures (sometimes exceeding 100°F), Bryce Canyon remains cooler, making it more comfortable for daytime activities. However, summer is also the busiest season, so expect larger crowds.
Fall (September to November): A popular season for travelers, fall brings vibrant colors to Zion’s canyons and the alpine scenery of Bryce Canyon. The temperatures are cooler, and the crowds are thinner, especially in mid to late fall.
Winter (December to February): If you’re a fan of solitude and winter beauty, the off-season offers a unique experience. Zion experiences mild winters, while Bryce Canyon can get quite cold and sometimes snowy, creating a winter wonderland perfect for photography.
Top 10 Must-Visit Attractions
Zion Canyon – Zion’s main attraction, Zion Canyon, offers stunning views of towering cliffs, narrow canyons, and crystal-clear streams. Popular hikes like Angels Landing and The Narrows provide jaw-dropping views of the park’s diverse landscapes.
Bryce Amphitheater – Bryce Canyon’s main feature, this vast natural amphitheater, is home to Bryce’s famous hoodoos—tall, thin spires of rock. Sunrise and sunset are the best times to visit for dramatic lighting on the formations.
The Watchman Trail (Zion) – A moderate 3.3-mile hike offering panoramic views of Zion Canyon and the surrounding cliffs. A perfect choice for those seeking an easy yet rewarding hike.
Fairyland Loop (Bryce Canyon) – A challenging 8-mile trail that offers stunning views of Bryce Canyon’s hoodoos from a quieter, less-visited side of the park.
The Subway (Zion) – For experienced hikers and adventure seekers, this technical slot canyon hike through Zion’s backcountry is a bucket-list challenge. The natural rock formations and waterfalls make the effort worthwhile.
Sunset Point (Bryce Canyon) – As the name suggests, this spot offers spectacular sunset views over Bryce Canyon, with the sunlight casting vibrant colors on the hoodoos.
Kolob Canyons (Zion) – A quieter section of Zion, Kolob Canyons offers beautiful hiking opportunities, including the easy Taylor Creek Trail, with stunning views of the canyon’s deep red cliffs.
Navajo Loop and Queen’s Garden (Bryce Canyon) – A classic Bryce Canyon hike, this loop offers spectacular views of hoodoos up close and is perfect for first-time visitors looking to get immersed in the park’s iconic scenery.
Observation Point (Zion) – One of the best hikes in Zion, this trail leads to a viewpoint that overlooks the entire Zion Canyon. A strenuous 8-mile round trip, but the views are worth it.
Rainbow Point (Bryce Canyon) – The southernmost point of Bryce Canyon offers stunning views of the park, as well as the surrounding landscapes stretching into the distance.
Local Cuisine Recommendations
Zion and Bryce Canyon offer a variety of local dining experiences, catering to both casual and upscale tastes.
Zion:
The Spotted Dog Café in Springdale is a local favorite offering a blend of southwestern and American cuisine. Try their bison burger or the salmon with a beautiful view of the canyon.
Oscar’s Café is known for its relaxed atmosphere and hearty meals, like their giant margarita and delicious fish tacos.
Bryce Canyon:
Bryce Canyon Lodge Restaurant provides an elevated dining experience within the park. Don’t miss the lamb chops or their famous trout.
Stone Hearth Grille in nearby Tropic offers excellent steaks and wine pairings, perfect for a luxury dining experience after a day of exploration.
Transportation Tips
Airports: The closest major airport to Zion National Park is St. George Regional Airport (SGU), located about 45 minutes away. For Bryce Canyon, Cedar City Regional Airport (CDC) is a good option, about 1.5 hours from Bryce Canyon. Alternatively, the larger McCarran International Airport (LAS) in Las Vegas is about 2.5 hours away by car and is a common entry point for travelers.
Car Rental: Renting a car is the most practical option for getting between Zion and Bryce Canyon, as the parks are located about 1.5 to 2 hours apart by car. There are numerous rental agencies in the nearby cities of St. George and Cedar City.
Public Transport: While there are no direct buses between Zion and Bryce, shuttle services operate within both parks during peak seasons. If you’re traveling in the off-season, having a car is essential.
Budget Breakdown
Budget Travelers: Expect to spend about $60-100 per day, including park entry fees, basic accommodations (such as campgrounds or hostels), food from inexpensive restaurants, and minimal activities.
Mid-Range Travelers: For a more comfortable stay with better dining options, budget around $150-250 per day. This includes 3-star hotels or private cabins, meals at mid-range restaurants, and additional tours or activities.
Luxury Travelers: For those looking for a high-end experience, anticipate a daily cost of $300-500+, which includes luxury lodging, fine dining, guided tours, and premium activities such as helicopter rides or private hikes.
Hidden Gems and Off-the-Beaten-Path Locations
Zion:
Hidden Canyon offers a quiet alternative to the more popular trails in Zion, with stunning views and fewer crowds.
Canyon Overlook Trail is a short hike offering great views of Zion Canyon, perfect for a peaceful, picturesque experience.
Bryce Canyon:
Pirate’s Cove is a secluded spot away from the crowds where you can find unique hoodoo formations and an intimate experience with nature.
Cottonwood Canyon is a lesser-known gem with incredible views of Bryce Canyon and the surrounding areas, offering a more remote and tranquil experience.
Safety Tips and Cultural Etiquette
Safety: Always carry plenty of water, especially in the warmer months. Be aware of your physical limitations and avoid overexerting yourself on difficult trails. Cell phone service is limited in some areas, so be sure to plan accordingly. Always check trail conditions before heading out, particularly in winter, as some routes may be closed due to snow or ice.
Cultural Etiquette: Respect the natural environment by staying on marked trails and leaving no trace. Avoid touching or disturbing wildlife, and never feed animals. When interacting with local communities, be polite and respectful of the cultures and traditions of the Native American tribes that inhabit the area.
Sample Itineraries
3-Day Itinerary:
Day 1: Arrive in Zion, explore Zion Canyon, and hike the Watchman Trail.
Day 2: Hike Angels Landing, then drive to Bryce Canyon for sunset at Sunset Point.
Day 3: Explore Bryce Canyon’s main attractions, such as the Navajo Loop, then return to Zion or depart.
7-Day Itinerary:
Day 1-2: Arrive in Zion, explore Zion Canyon, and hike the Subway and Angels Landing.
Day 3: Day trip to Kolob Canyons.
Day 4-5: Head to Bryce Canyon and enjoy hikes like Fairyland Loop and Queen’s Garden.
Day 6: Visit the hidden gems of Bryce Canyon and explore the less-crowded trails.
Day 7: Explore the surrounding areas or enjoy a relaxing day at the Bryce Canyon Lodge.
Conclusion: Practical Travel Tips
Book in Advance: Accommodations and tours in both Zion and Bryce Canyon fill up quickly, especially during peak season. Booking ahead will ensure you have the best options available.
Pack Accordingly: The weather can vary widely between Zion and Bryce Canyon, so it’s important to pack layers for comfort during the day and cooler nights.
Respect the Parks: Both Zion and Bryce Canyon are protected natural treasures, so be sure to follow all park regulations and leave nature undisturbed.
With this comprehensive guide, you’re ready to embark on your adventure through some of the most breathtaking landscapes in the United States, no matter your travel style. Whether you’re hiking the iconic trails, enjoying luxury experiences, or simply soaking in the views, Zion to Bryce Canyon is an unforgettable journey that will stay with you long after your visit.

Why Modern Homeowners are Moving Away from Manual Pool Maintenance

6 Best Movies for Travel Lovers